When you think about it for a bit, the kitchen is the room that requires the most attention when it comes to moving, packing, and unpacking. Everything in there is tiny, fragile, very valuable, and essential. This means you should first bubble wrap yourself before handling these golden items. Jokes on the side, but seriously, there are always too many things to do when it turns to sorting and packing the kitchen.
Since in previous articles we already cover the topic of how to pack the dishes so they survive transportation, today we will talk about how to pack small appliances. Here is everything you need to know.
How To Pack Small Kitchen Appliances
Packing your things isn’t science fiction, however, it does require a lot of effort and patience. You will need to carefully inspect, disassemble (if needed), and wrap each small appliance before placing it in the box. To make sure you don’t rush this process, and compromise the safety of your kitchen appliances the best thing you can do is to start a few days in advance so you can do it your way and at the pace, you are comfortable with.
Prepare all your packing supplies
Before you start sorting your small kitchen appliances you need to gather all the necessary packing materials. Here is the list of things you’ll need for packing:
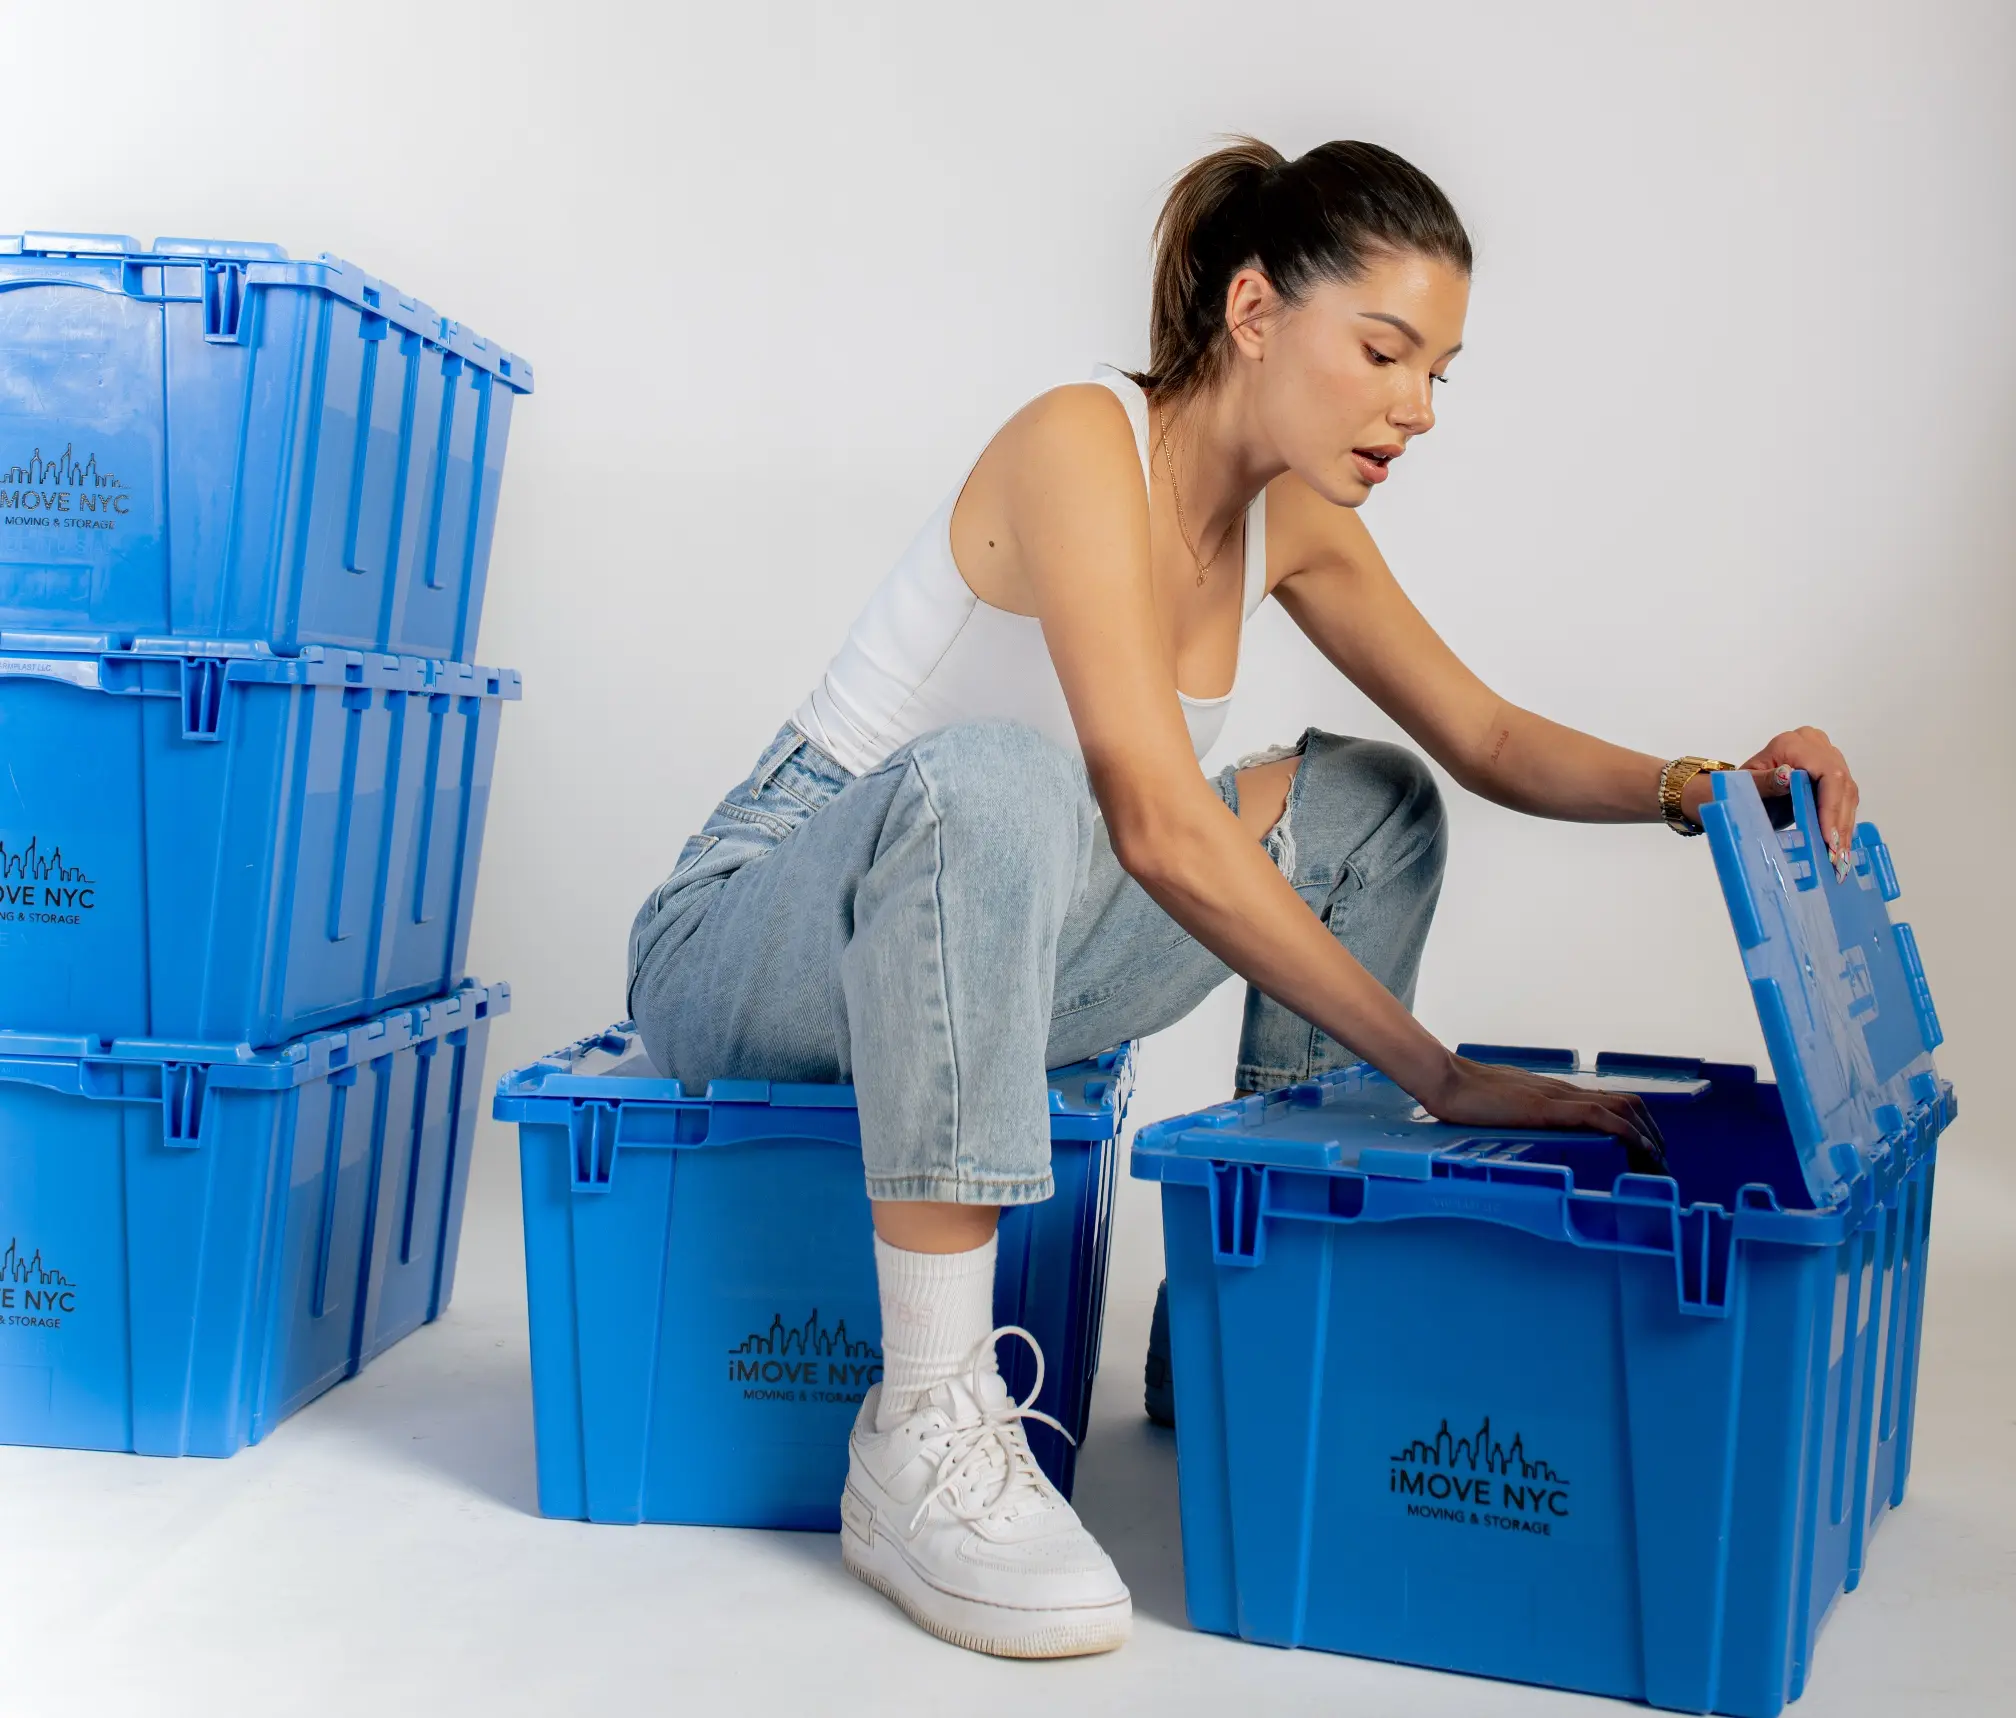
- Boxes and containers – It’s great if you still have the original boxes of your kitchen appliances, but if you don’t (like most of us) you need to purchase or acquire them. Use sturdy card boxes or plastic containers but make sure you use the right size. In case there is still some space in the box fill it with kitchen towels, old newspapers, or Styrofoam inserts. You can also choose to pack several small kitchen appliances in a single large box, but make sure you divide them with some padding.
- Paper and packing tapes – You’re going to need plenty of soft packing paper to line the boxes and protect the gadgets. You will also need a lot of packing tape to secure the paper linings and seal the boxes.
- Twist ties – Use twist ties or rubber bands to secure the electric cords of the appliances.
- Permanent markers and color labels – Use color labels and permanent markers to mark each box correctly.
Inspect all your small kitchen appliances
Some items you have are old, and honestly, some you simply forgot you even have. Nothing guarantees you that they are still in function. That is why before you go and pack up your small kitchen appliances, it’s a good idea to go through each unit and make sure it’s worth moving to the new home.
Maybe you have a small appliance that’s not been working well recently, or you still keep a broken one for no particular reason, even though you know it is not worth fixing it. However, the upcoming move is the perfect excuse to get rid of the old units and purchase brand-new shiny ones.
Even though you’re probably packing and moving all small kitchen appliances found in your kitchen, it’s still a good idea to go through your kitchen devices and set aside the ones that are not worth packing and moving for some reason or another.
Thoroughly clean and dry them
It’s advisable that you clean and dry each small appliance before you wrap it up for transport. Why? The thing is that it’s a bad idea to transport unclean small kitchen appliances with crumbs, stains, grease, and other types of debris still on them.
In most cases, you won’t have the time to clean your appliances thoroughly, so it’s OK to wipe them down with a damp cloth or wet wipes. Once you do it, wait enough time so that the electric units can dry out completely before you start wrapping them up with paper.
If your small kitchen appliances are already sufficiently clean, then you should skip this cleaning step altogether.
Disassembling
Remember everything that can be disassembled should be disassembled for the move. This way you will make sure they arrive at your new address in the best possible condition. If you ask us, you should always remove any loose or detachable parts from the small kitchen appliances before packing them for relocation. This is largely a safety measure since loose components may shift around or inside the appliance and cause some sort of transportation damage. Also, some kitchen appliances such as blenders are just too large as they are and need to be disassembled – the plastic or glass jars should be removed and packed up separately.
Always pack disassembled components of a single appliance in the same box to save valuable time when unpacking and setting up those kitchen devices after the move.
Disassembling small kitchen appliances for moving should be pretty straightforward. Still, if you get stuck, consult their respective operation manuals or look for disassembly instructions on the Internet.
Secure the cords
Electric cords of small kitchen appliances may pose a tripping risk or they could scratch the devices they belong to. And this is exactly why this step is all about securing the cables of those kitchen appliances to prevent any accidents whatsoever.
If the power cable of a kitchen appliance can be removed completely from the unit, do so. Then, fold the cord a few times without pressing it too much, wrap it up entirely in soft packing paper, and then tape the bundle to keep it from unwrapping.
If the power cord of an appliance cannot be detached from the unit, fold it carefully, use zip ties or rubber bands to keep it in place, and finally – wrap it up in wrapping paper and secure it with packing tape.
Use packing paper, bubble wrap, or both
The key to a successful relocation is good organization and high-quality packing supplies. If you haven’t already packed the detachable components you disassembled from the small kitchen appliances, then do so now. Use several sheets of packing paper to wrap completely those detached or loose parts, then secure them with tape.
Then, wrap the main body of each kitchen appliance in 2-3 sheets of wrapping paper as if you were wrapping a present. Check to see whether the unit you’re about to protect is completely dry before you start wrapping it up on paper. If not, use a soft dry cloth to dry it up – this is an important step as it’ll prevent the possible buildup of mold.
When you’re done wrapping the sheets of paper around the appliance, use packing tape to secure the package. Do not use packing tape directly onto the appliance because it is rather sticky and may stain the delicate surface of the electric device.
Shock-proof the bottom of every box
You can never be too careful when it comes to packing fragile things. Every drop can cause a lot of damage, or might not cause any damage at all, but don’t test your luck. Small kitchen appliances tend to be rather fragile, so you should do your best to provide the best type of protection you can.
Lay pieces of crumpled paper on the inside bottom of each cardboard box. The paper wads will create a soft shock-absorbing layer on the bottom that should additionally protect the delicate appliances on the road.
Instead of regular packing paper, you can also safely use crumpled newspaper because the ink won’t be able to reach the appliances and potentially leave nasty ink stains on them. If you have pieces of bubble wrap, they can also be used effectively to form that initial bottom cushion that should absorb any shocks along the route.
Place them in sturdy boxes, or even better, the original ones
Transfer gently the packed appliances into their pre-selected boxes. Add in any additional components you have disassembled and packed separately – trays, jars, cords, etc. When arranging the paper-wrapped appliances in boxes, keep them upright since most of them are designed to be used like that. Also, be careful to place the heaviest kitchen appliances on the bottom of the box and place the lighter ones on top of them.
If there’s enough room for another small kitchen appliance in the same box, then add it too. As a safety rule, you should not exceed 40 pounds for each box no matter how sturdy the cardboard container seems.
Use crumbled paper to fill in the gaps
If there is too much free space in your packing boxes make sure you fill it up with paper, clothes, or any other type of cushioning to prevent damage. After you’ve filled up a box with protected small kitchen appliances, be sure to fill any remaining gaps inside the box with crumpled paper. Why should you bother with this step?
Packed boxes will be moved around a lot and they will be subjected to various external forces while being transported inside the moving truck. Due to the vibrations, while the vehicle is traveling, your packed kitchen appliances are likely to shift inside the container unless you make sure they don’t have any space to move at all.
For safety reasons, just fill in any remaining spaces inside the boxes with crumpled paper or pieces of discarded bubble wrap. One way to test whether you’ve done a good job immobilizing the delicate electric devices is to lift the box after you’ve packed it up and shake it gently. If nothing is moving inside it, then you’re good to go. But if you feel there’s any movement inside the box, then add more crumpled paper.
Properly seal, tape, and label all boxes
This is the easiest and most important part of packing. Close the top flaps of the box you have just filled in and tape the container shut using a few rounds of packing tape. You should be able to close the flaps comfortably without exerting any pressure downwards. If the flaps happen to be bulking upward, it means that you’ve overfilled the box which is not recommended. In that case, remove one or two items from the box and transfer them into a new one.
Use the permanent marker to label each packed box accordingly. Write the name of the kitchen appliance or appliances that are packed inside the container. The best thing to do is to label your boxes as “fragile” or “handle with care” so a person who transports these boxes will know to be gentle.
It’s Time To Get Cooking People
Let’s be honest if you are about to pack all your household on your own, you are in for a long and very tiresome task. If you think you can handle that with ease, we salute your decision and we congratulate you. But, if you in the middle of the process figure out that you bite more than you can chew why don’t you let us know?
iMOVE NYC moving company offers a wide range of moving services, from residential moving, and commercial moving, to packing and premium services. To learn more about our services you can call us or you can send us an email via this link. We are looking forward to hearing from you.


